Ham Go Box, v1.0
This content has been archived. It may no longer be relevant
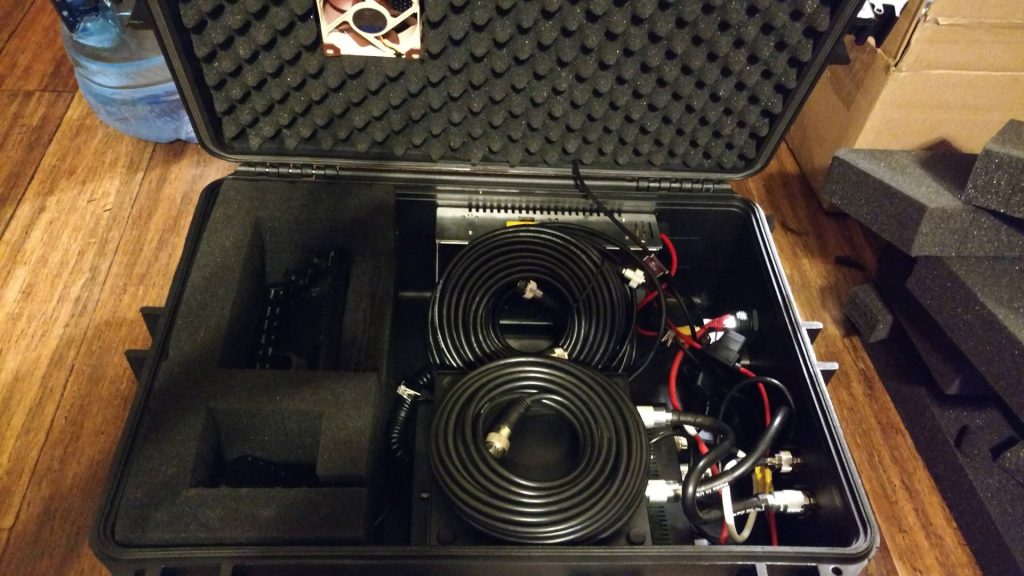
The Go Box I decided to build is almost done. I’m not completely satisfied with the foam cutouts and if I were to rebuild it today, I would locate the fan elsewhere. I still need to drill some exhaust holes for airflow, but other than that version 1.0 is complete. Lets have a look:
The inside of the box contains an Icom IC-7100, LDG IT-100, 350w PSU, and various cables. I’ll eventually add the ability to use an external DC 12v power source, probably with a bulkhead Powerpole connector. I used several side-by-side strips of 2″ industrial velcro to hold the radio to the bottom of the case, and the tuner to the radio, and they aren’t going anywhere. That being said, I really need to get a 3D printer or something so that I can start fabricating custom brackets for my projects. Or a CNC machine and some steel. I want to line up whatever brackets I fab up with the factory air holes to maintain as much of the intended thermal properties as possible, so just bending some sheet metal and drilling holes through it for the screws won’t work.
The outside of the box, showing the intake for a Noctua 80mm fan.
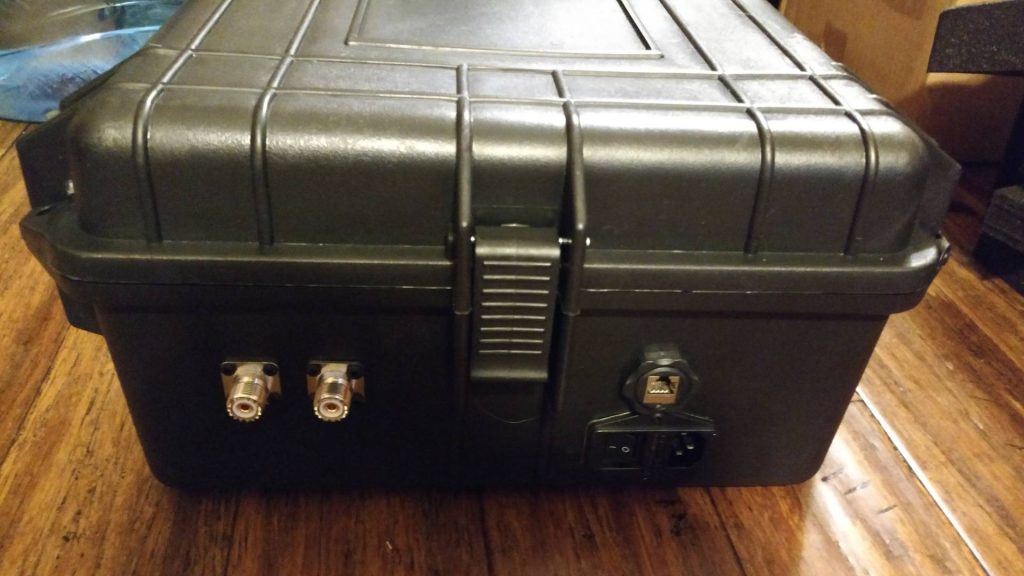
The outside of the box, showing the HF antenna input, VHF/UHF antenna input, shielded bulkhead RJ-45 connector for the head unit, and fused, switched, and EMI filtering AC input.
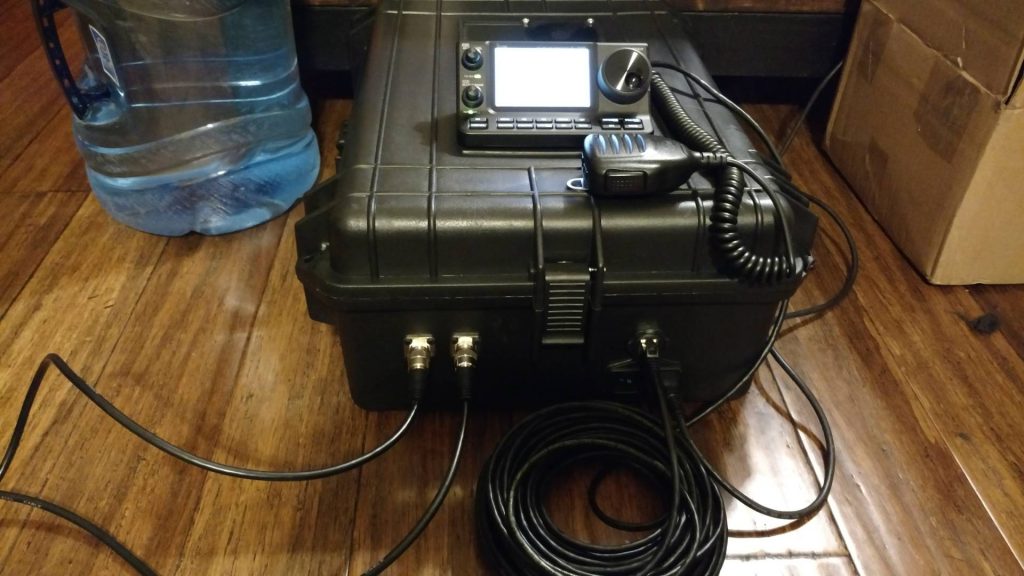
With everything connected, and the head unit/mic pulled out of the box.
The head unit only requires one shielded RJ-45 cable. I have a 50′ shielded cat6 that I store inside the box, as well as two 50′ coax cables for each of the antennas. With a 50′ AC extension cord, I can sit 100′ away from the power source and antennas.


