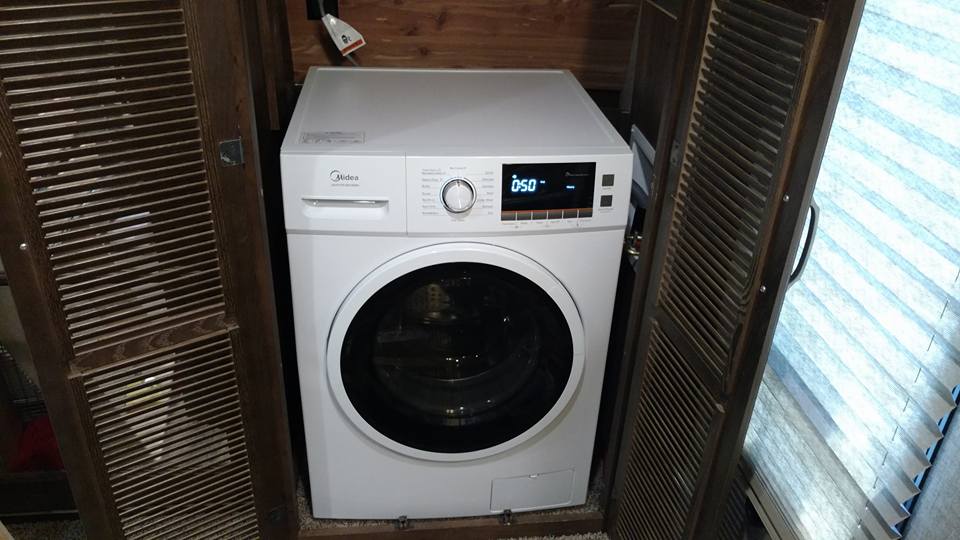
W/D Combo Installed
This content has been archived. It may no longer be relevant
We saved a lot of money by ordering and installing our own washer/dryer combo. The 175lb washer/dryer combo has been sitting in our garage for a while, so I decided to go ahead and tackle the install yesterday while Kelly was out shopping with a couple of friends.
I used some wooden blocks and a blanket to get into and out of the truck, and into the RV. When I went to move it through the bedroom door, which is at the top of a set of steps, it wouldn’t fit. I suspected as such. I pulled it back off the steps and used square bits to remove the bedroom and bathroom doors. I then removed the washer door and settings knob, and measured. It was about 1/8″ too wide, but I figured I would try because I could potentially push it through without causing damage. When I actually tried to do this, I quickly aborted because it wasn’t going to happen as I had hoped.
I removed the top of the washer, the front control panel, and then went to remove the front panel that the door attaches to. That panel holds a boot seal that keeps the water where it belongs while the front-load washer is running. It was tedious to remove without tearing, but I was able to pull that off after working with it a bit. I was then able to get it up the stairs, through the bedroom, and into the bathroom where I reassembled it.
I had to remove the drawers that were previously in the W/D closet to fit it, so I did that, and then used the wooden blocks again to get it over the threshold into the closet. Hooked it up and it’s ready to test the next time we are on full hookups.

